Finding Mice and Teaching Rhiannon to Code
Published: 05/15/2020
Subscribe to Ja3k
That's right this blog is now a newsletter.
Thanks for subscribing!

During the pandemic Rhiannon and I needed a new outlet for enrichment and it seemed like a good idea to learn to code.
I think the best way to learn how to program is to start with a program the student actually desires in mind. The hard part is finding something simple enough that a novice can accomplish it. But complicated enough that its also valuable. Luckily in this world of monotony and drudgery there are more than enough candidates.
In Rhiannon's lab there are autistic mice (actually mice that are a model of autism. Don't ask me for the details or the ethics on experiments on autistic mice). To study their sociability they're put in a cage with three chambers and another mouse is put in a smaller cage in one of the rooms. They then take a video of the mouse chilling and record how long the autistic mouse spends with it's buddy as a measure of sociability. Right now they have some undergrad watch hundreds of hours of mice torture and take note of where the mouse is when. As our first project Rhiannon wanted to automate that process, freeing some hapless undergrad to maybe learn something.
I think we maybe overshot the ideal complexity level of a first project. To be honest I myself haven't programmatically interacted with video before, though I have had a lot of fun with Pillow. But interest is probably more important. And I was there the whole time to answer questions and when things got really dire touch the keyboard myself.
We started on repl.it (this is a referral link not because I actually want repl.it credit but because I'm getting used to selling out for later) because its 2020 everything should run in the browser. Also it seemed nice for collaborating. I also poked around for a library to enable us to interact with a video file as a stream of images and found a code snippet using opencv which did it.
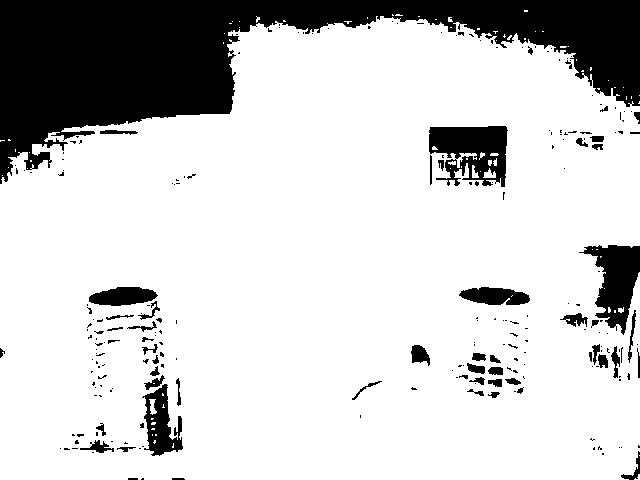
Our first idea was that maybe if we chose a good threshold we could get the black mouse to show up on the tan and grey background. It was a good first attempt and was a good way to introduce for loops and if statements. In our first test on just an image of a mouse in a cage it worked pretty well.
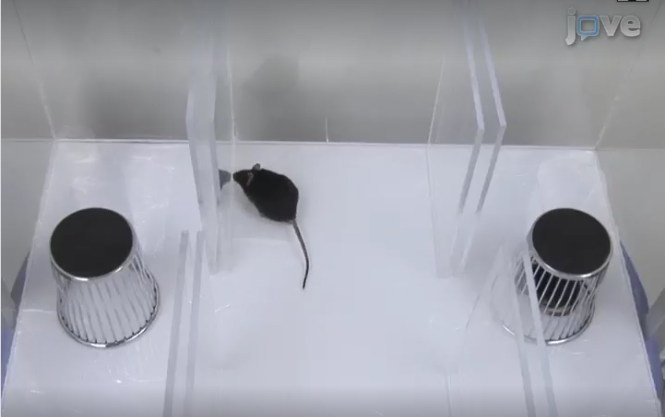

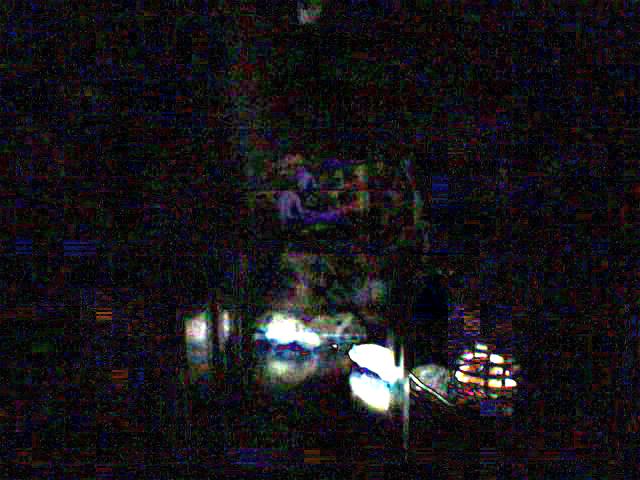
But when we transitioned to a video that her lab had taken it didn't stand up very well. The mouse was too light and the background was too dark. You can sort of see the mouse hunched over with its tail to its left to the left of the right spring thing. Sort of.
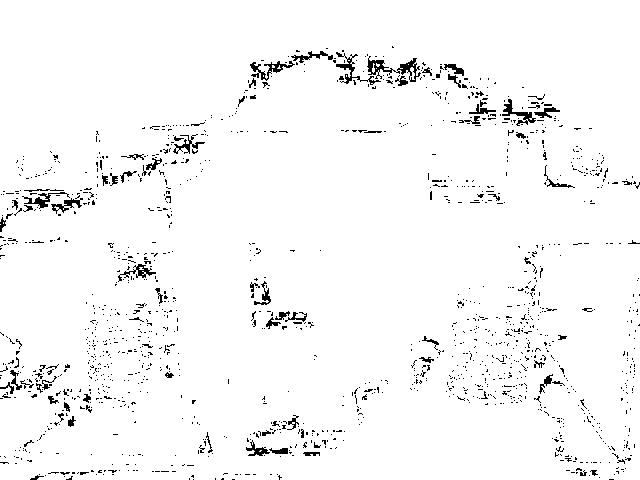
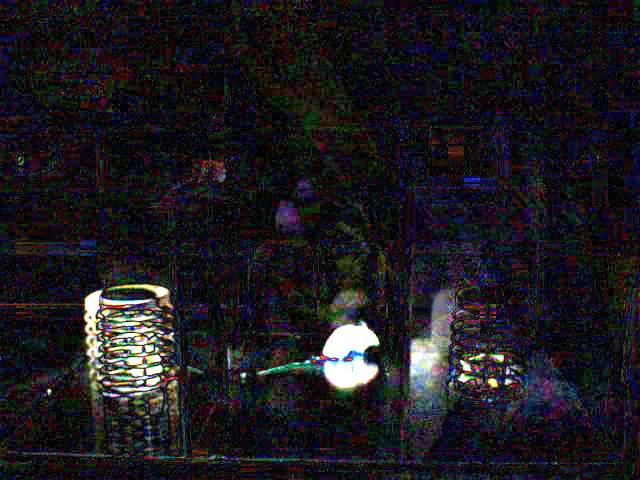
Our next idea was to apply our threshold to the pixel wise difference of adjacent frames. The theory was that the only black pixels would be those with significant change so the moving mouse would be apparent. That worked even worse. The black pixels were those around edges. I guess slight changes in the lighting and shaking of the camera caused those to exhibit more frame to frame change than the mouse moving. The mouse also tends to stand still for many frames at a time. In this sample frame I couldn't tell you where the mouse was.
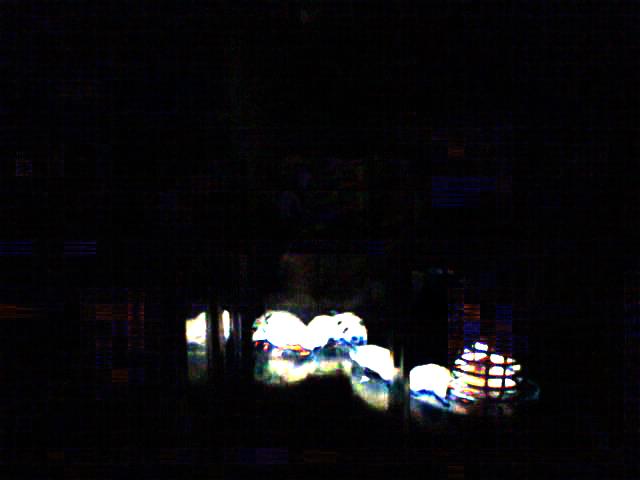
We really banged our heads together and came up with the following scheme. We take the pixel wise average and standard deviation of the video. And then we compute the z-scores of each frame. From frame to frame the mouse's movement may not be very highlighted but averaging over the whole clip we hoped it would show up more. Here's the average of our clip.
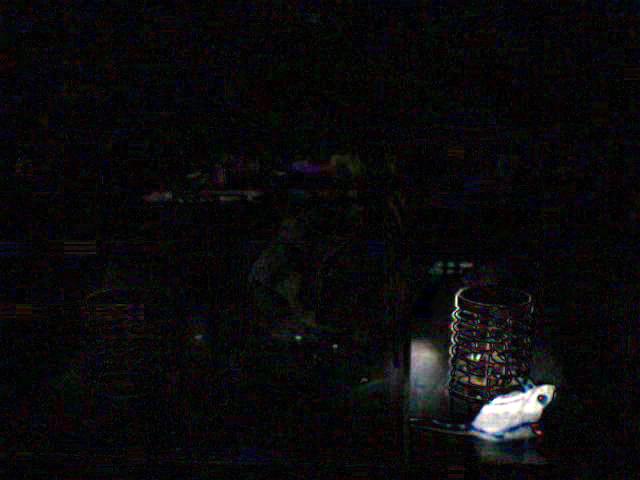
Wow! The mouse simply disappears! That's pretty neat. And how about the standard deviation? Actually this isn't the standard deviation of our clip. Our original 10 second clip didn't have the mouse moving much. But that clip and its derived data are lost to time.
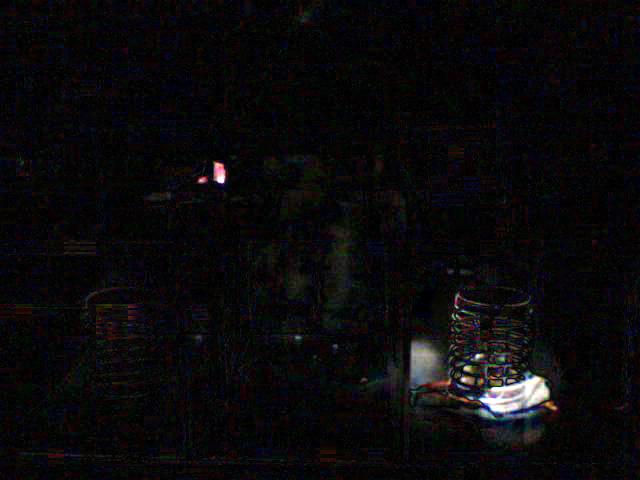
You can see the areas where the mouse has been bright against a dark background. This is promising. And how do the z-scores look?
The mouse does show up. But not as a bright spot but as a black spot. In hindsight this makes sense. A lot of pixels essentially don't change at all. So when you divide by their variance and compare to a pixel where the mouse sometimes is and sometimes isn't they appear much brighter. We simply stopped normalizing by variance (but continue to compute the variance and call our mouse image "z-scores" for the duration of the project. When you don't normalize by variance you get this.
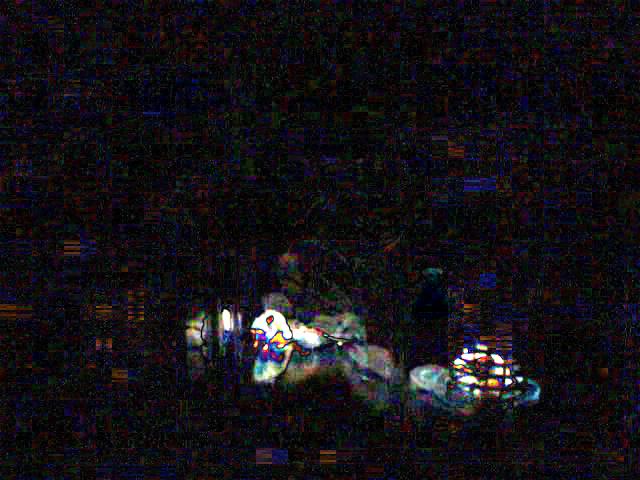
At this point we switched to a different 10 second clip in which the mouse moved a lot more. The variance image I showed you earlier is from that clip. The z-score images we got were good but had a lot of ghosting.
Still the images were good enough to try to move onto phase two: determining the position of the mouse after the mouse was highlighted. The idea was super simple. We just computed the centroid of the image weighted by pixel saturation. Already in the first images this worked decently well but the ghosting dragged the centroid towards where the mouse had been. The rest of the work was fixing the ghosting.
Our first idea to fix the ghosting was to just use a longer video. In the 10 second clip the mouse spends a significant proportion of the time in a few different places. With a longer clip we hoped that the mouse would spread out more and only where it was currently would shine brightly. This meant we needed to transition away from repl.it because it couldn't quite handle our half a gigabyte video. That also threw a wrench in our pedagogy because the only text editors I have on my computer are vim and gedit. Trying to explain how great it is to have to press i before doing any actual typing and how ergonomic using hjkl to navigate is didn't sound very appealing. And it turns out gedit has a dark mode so it has the only essential text editor feature.
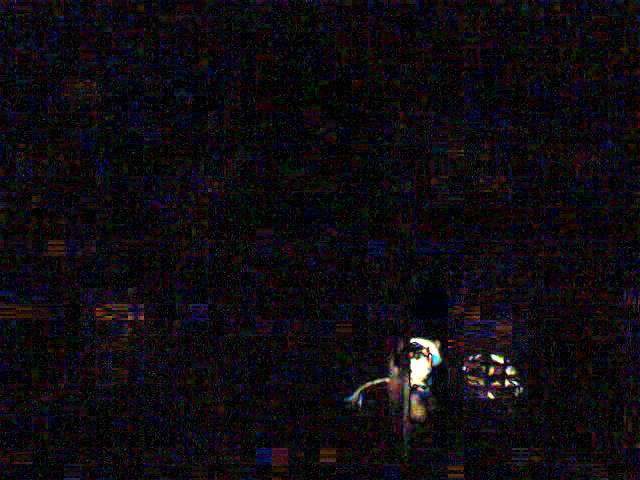
Switching to a longer video actually worked pretty well but not perfectly. You can see the mouse clearly but there's also a bright circle to the left of the right cage. The mouse just spent a lot of time there during this 10 minute video.
Our next idea was to raise the "z-score" to higher powers. You can tell from the above image that the mouse is brighter than the other features of the video. By raising the z-score to higher and higher powers that could make the difference even more pronounced. To the left you can see the z-score squared and to the right you can see the z-score cubed. It seems to help but the light patch is still clearly visible.
At this point we had another idea (though I can't really justify why we didn't just take the previous idea to its logical \(\ell^\infty\) conclusion). Instead of looking at the pixels distance from the mean we should only look at those distances which are negative. Because the mouse is darker than the background the vacuums left behind where the mouse had spent some but not much time shouldn't appear. That worked like a charm.

We made one last change to improve the centroid calculation. Instead of taking the centroid of the image we only took the centroid of a circle around where the last centroid was. This fixed a problem with the mouse the mouse being dimmer when it was behind one of the glass walls.
There are sort of a lot of things left to do. The program can't yet find the edges of the chambers on its own. And certain efficiency gains should be made. For instance I suspect instead of computing the z-score of every pixel just doing the z-score of every 5th pixel would perform as well and run 25 times faster. Hopefully the project eventually actually gets used in Rhiannon's lab. You can see our work on github.